

Community (faculty members)
This page explains the Community functions.
Faculty members can use services similar to classes by creating a Community.
And faculty members can allow students to use it by approving participation applications received from students.
Creating a Community allows the use of function similar to classes.
Community functions
- Community creation (registration, revision, deletion)
- Community participation applications (approval, rejection)
- Various community functions
a. Community creation (registration, revision, deletion)
Functions related to community creation (registration, revision, deletion) are explained.
Community creation (new registration)
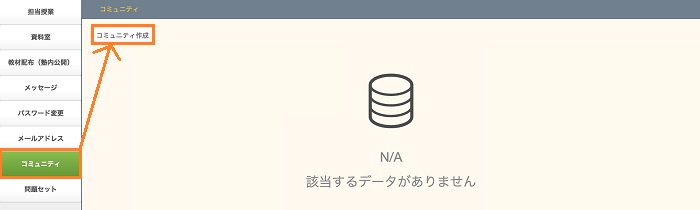
After logging in to the class system, click the Community.
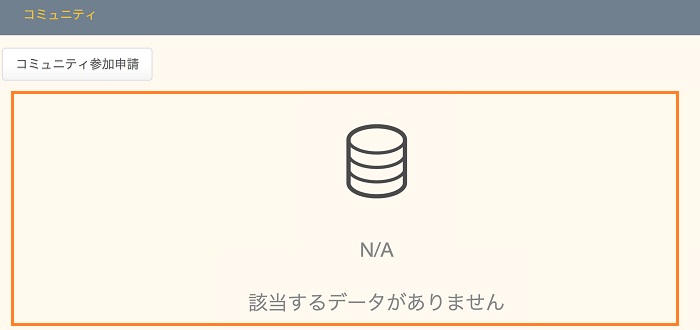
After the Community screen has opened, click [Add Community].
Note: If no community is registered, the system displays the message "N/A Data not available"
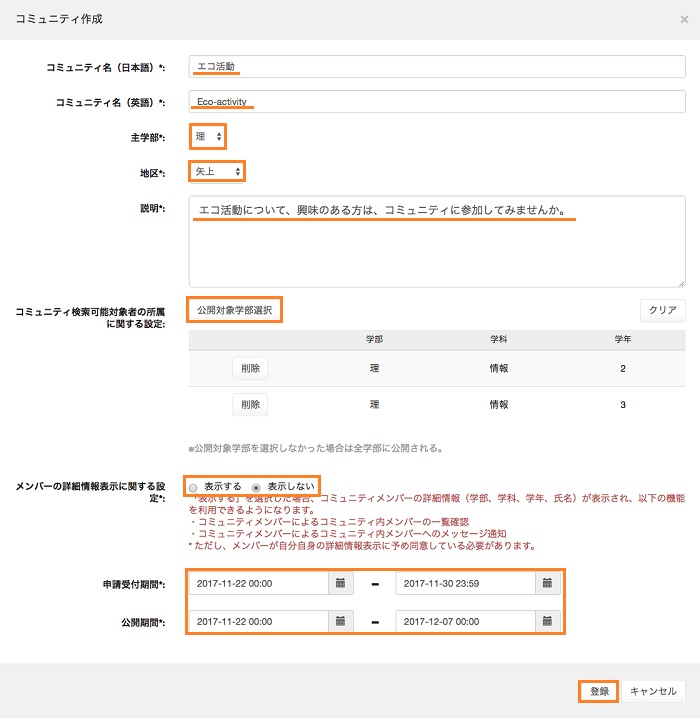
●Explanation of items entered: * Required items
- [Community Name in Japanese*]
- Enter an optional Community name.
- [Community Name in English*]
- Enter an optional Community name (English).
- [Faculty*]
- Select the faculty of the registrants from the pull-down menu.
- [Campus*]
- Select the district of the registrants from the pull-down menu.
- [Explanation*]
- Enter an explanation of the Community.
- [Setting for the members affiliation on Community Search]
- You can select faculties you wish to have participate in the Community
on the affiliation search screen by clicking the [Select the Affilations] button.
It is possible to search by specifying the items, "Faculty", "dept", and "Year".
* If faculties with access has not been selected, the Community is open to all faculties.
(Affiliation screen)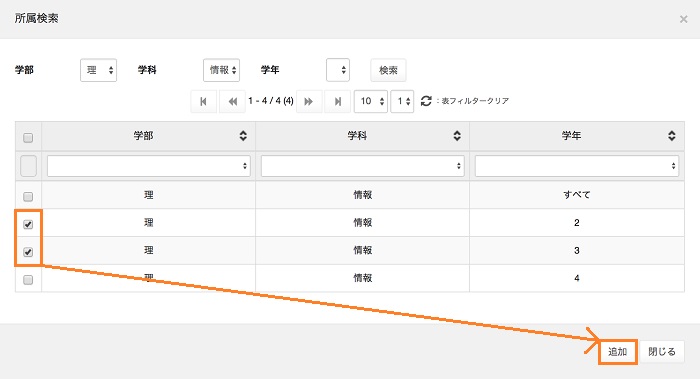
- [Setting for the display of members detail information*]
- If [Hide] has been selected, detailed information about community members
(faculty, department, year, name) is not displayed. (Default:Hide)
If [Show] has been selected, detailed information about community members
(faculty, department, year, name) is displayed. - [Application Period*]
- Setting the Community application reception period.
- [Available period*]
- Setting the Community access period.
When you have completed entry, click the [Register] button.
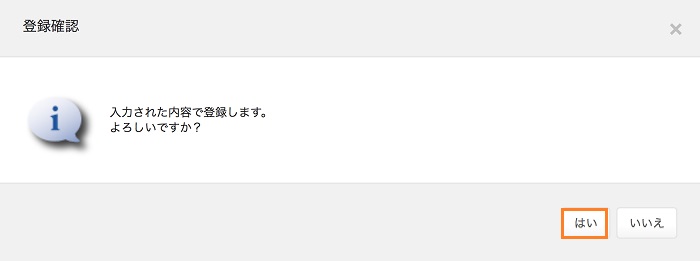
The registration confirmation screen is displayed, so click [Yes].
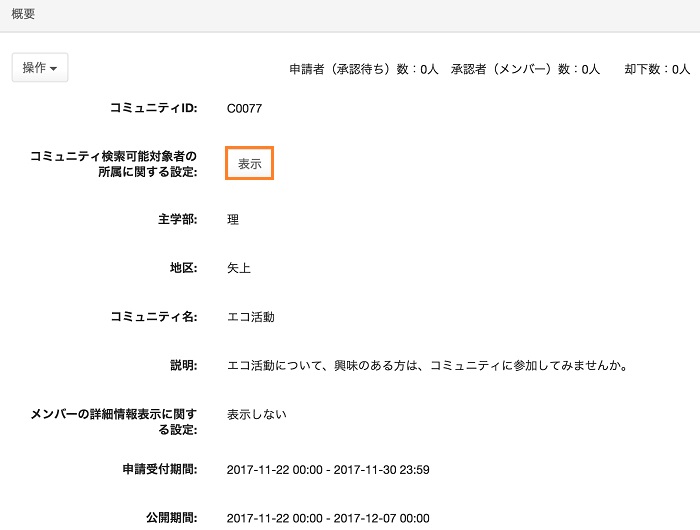
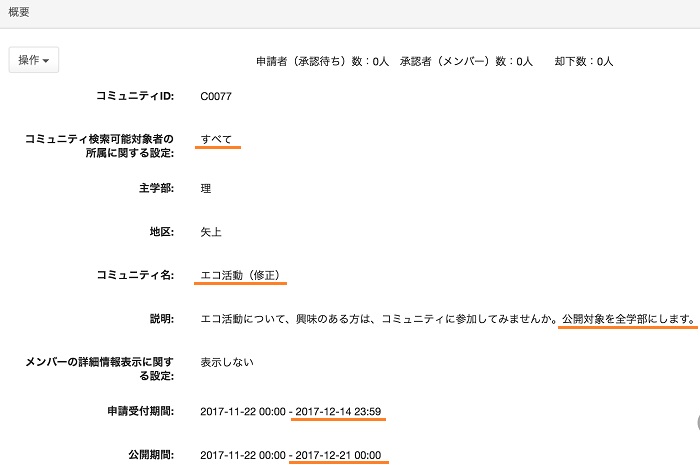
The registration contents are displayed.
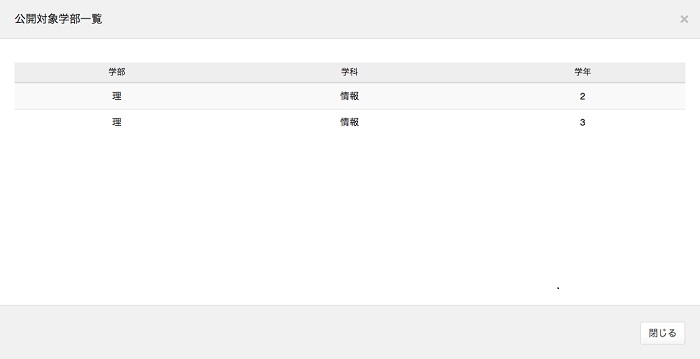
Click [DISP] on [Setting for the members affiliation on Community Search] lets you refer to a list of faculties with access.
[Affiliation list]
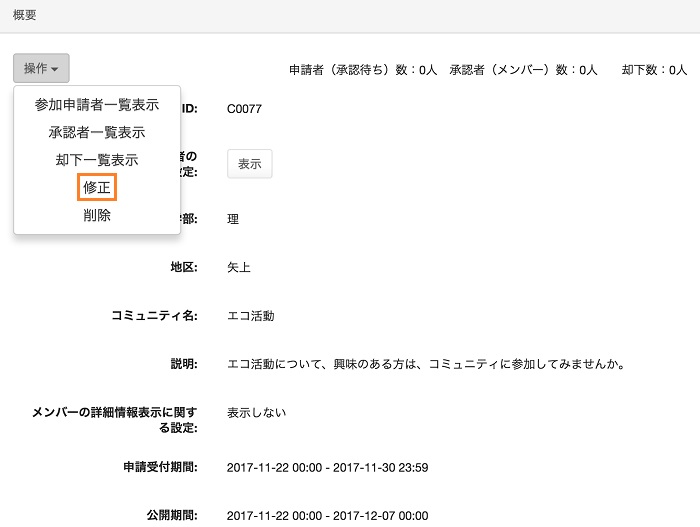
Community revision
Click [Modify] in the [Operation] box shown for the community that you want to modify.
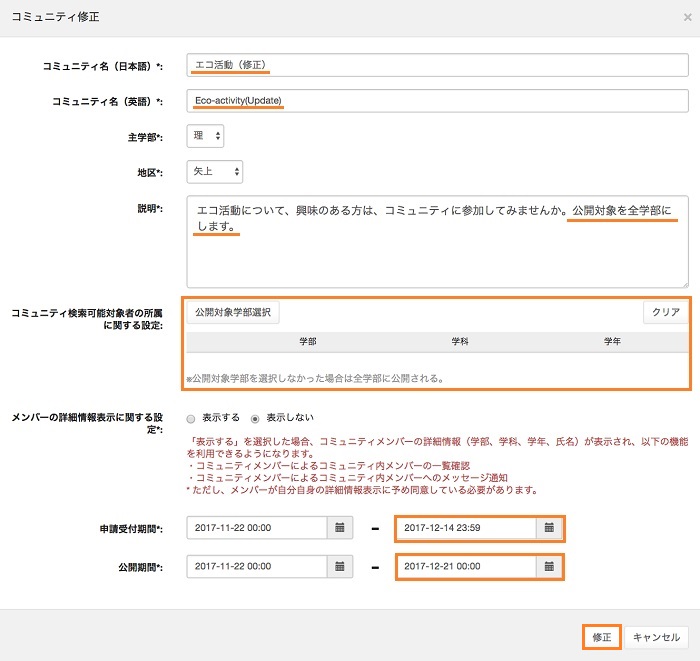
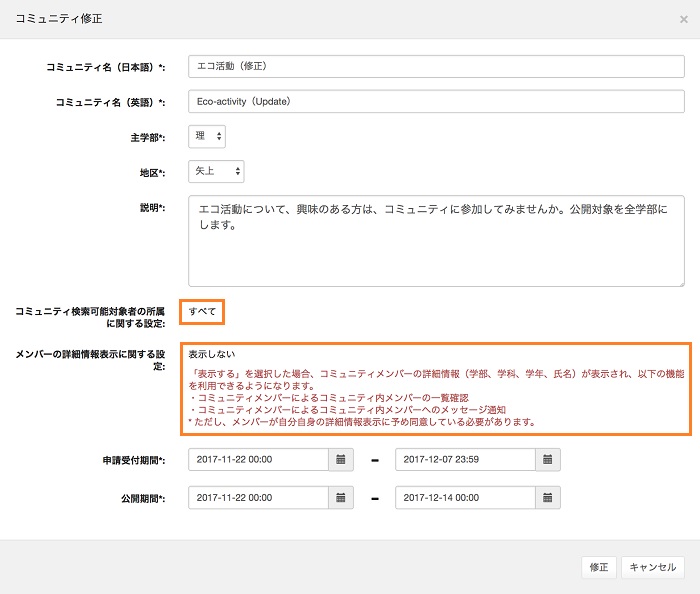
Click [Modify] button after revising the Community settings.
The revision confirmation screen is displayed, so click [Yes].

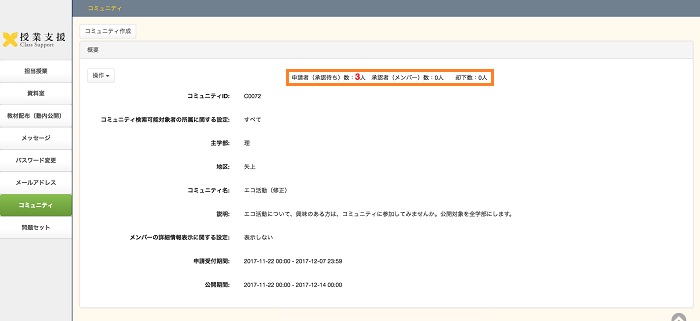
Results of the revision are displayed.
[Reference]
When performing a revision when there is an applicant, you can not revise [Setting for the members affiliation on Community Search] nor [Setting for the display of members detail information].
[Community Modify] screen
Community deletion
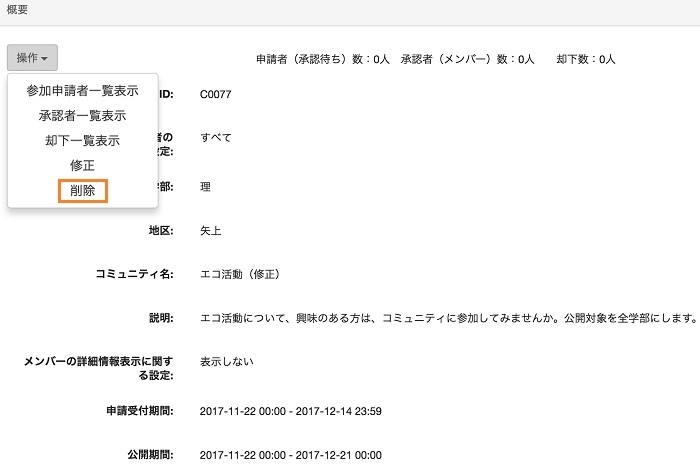
Click [Delete] in the [Operation] box shown for the community that you want to delete.
The deletion confirmation screen is displayed, so click [Yes].
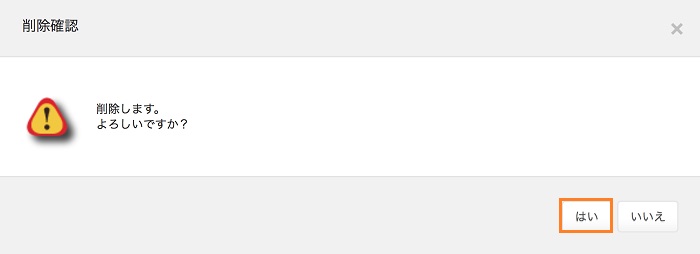
The Community is deleted.
b. Community participation applications (approval, rejection)
The Community participation application (approval, rejection) is explained.
- Community participation application approval
- Cancellation of Community participation application approval
- Community participation application rejection
- Cancellation of Community participation application rejection
Community participation application approval
Click the Community.
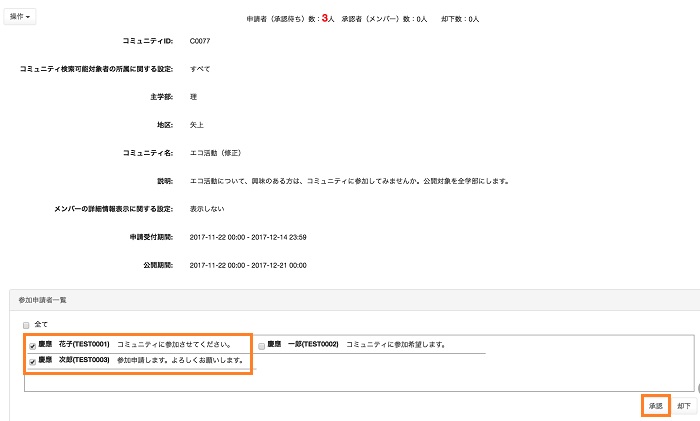
The community screen opens. Then, click [Members List] displayed in the [Operation] box shown for the community with any applicant.
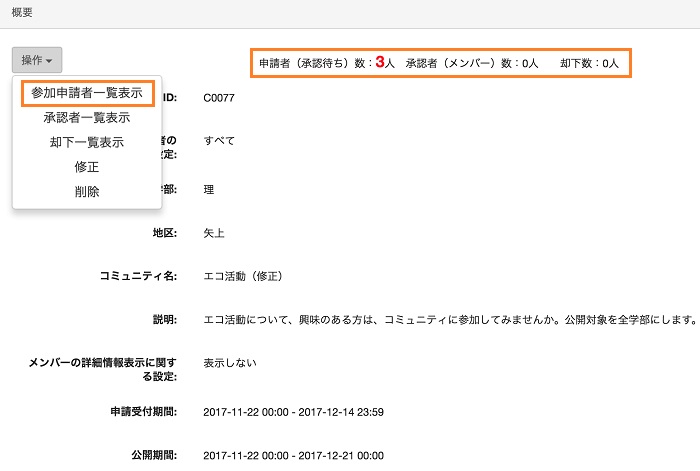
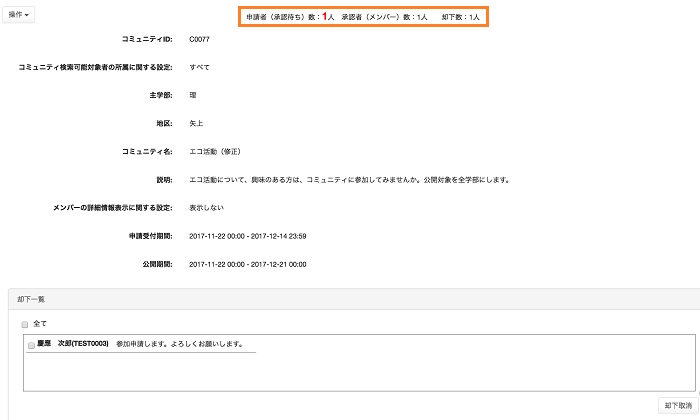
The participation applicants are displayed as a list.
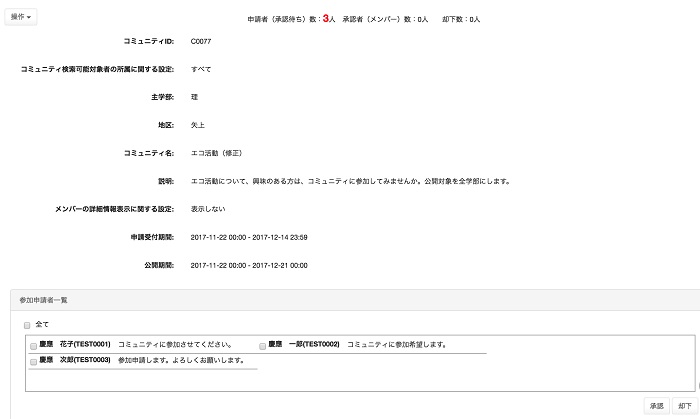
Check an applicant you want to approve and click the [Approval] button.
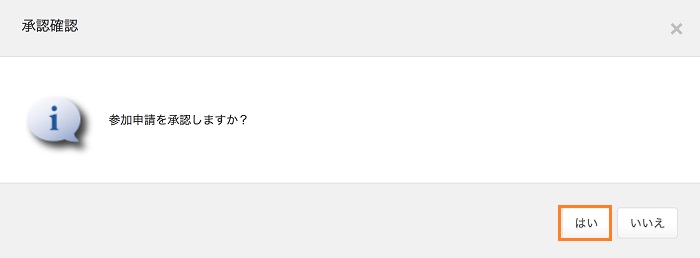
The approval confirmation screen is displayed. Click [Yes].
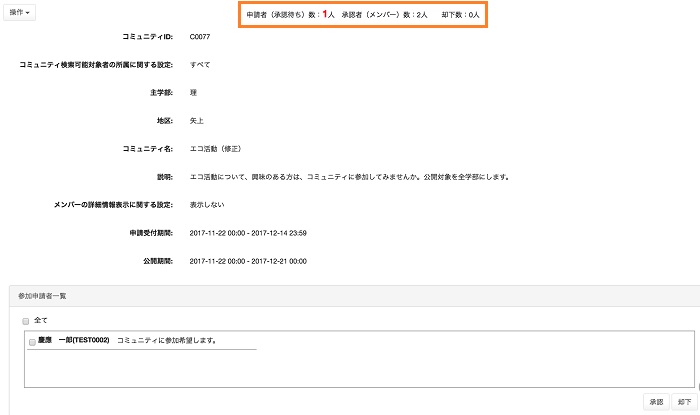
Numbers of applicants (1 waiting approval) Approved applicants (members): became 2
When a student has withdrawn after approval, the student is deleted from the displayed approved members list.
Cancellation of Community participation application approval
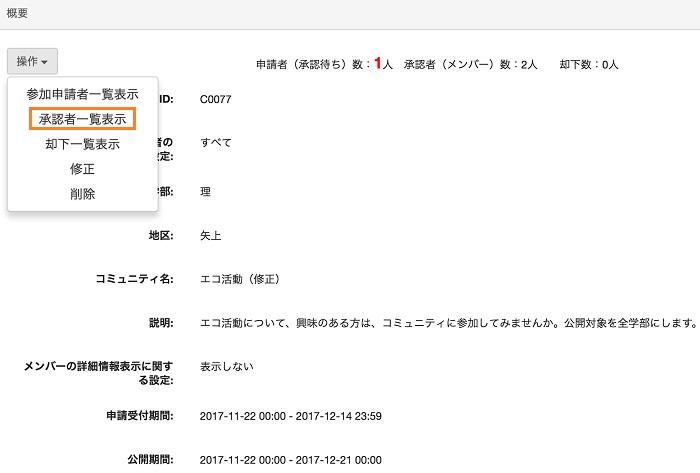
Click the Community.
The community screen opens. Then, click [Approved List] displayed in the [Operation] box. Approved members are displayed.
To cancel an approval, select the approved member and click [Cancel Approval].
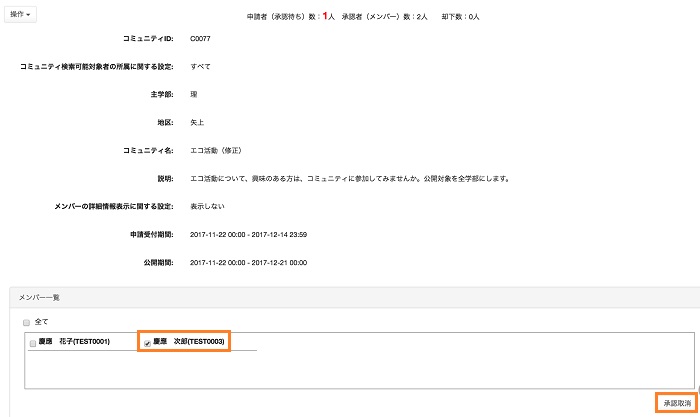
The approval cancellation confirmation screen is displayed. Click [Yes].

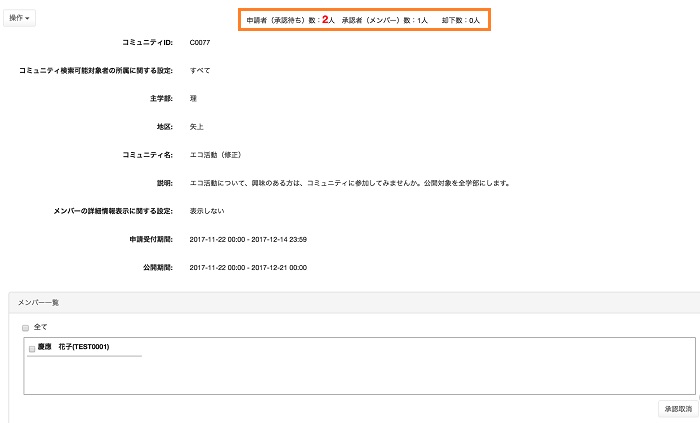
You can check to make sure one approved member has been deleted.
Community participation application rejection
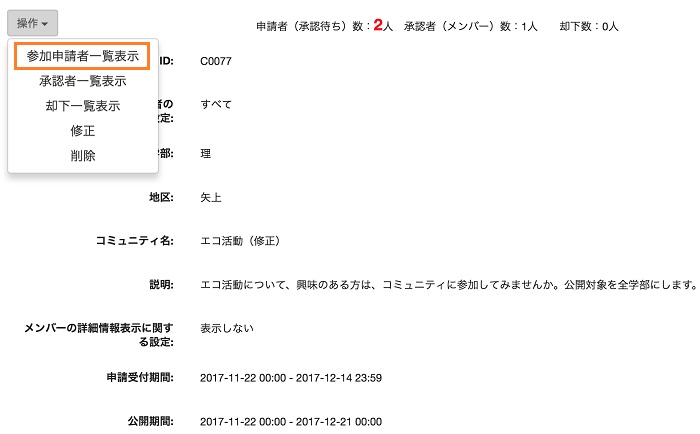
Click the Community.
The community screen opens. Then, click [Members List] displayed in the [Operation] box shown for the community with any applicant.
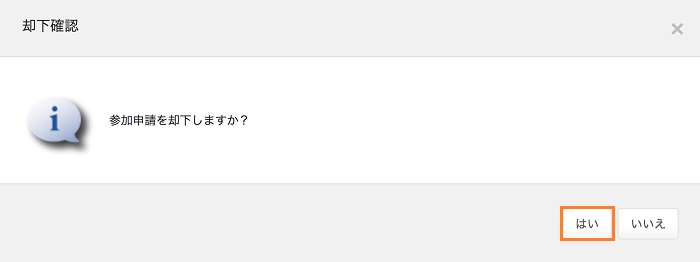
Check an applicant you want to reject and click the [Reject] button.
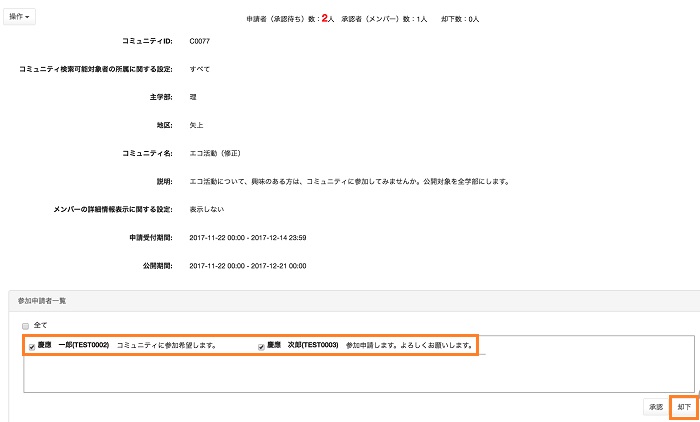
The rejection confirmation screen is displayed. Click [Yes].
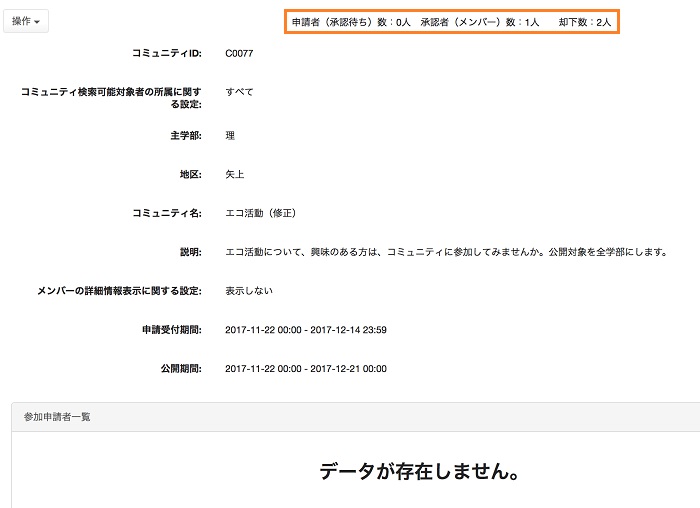
Number of applicants (0 waiting approval) Rejected: became 2.
Cancellation of Community participation application rejection
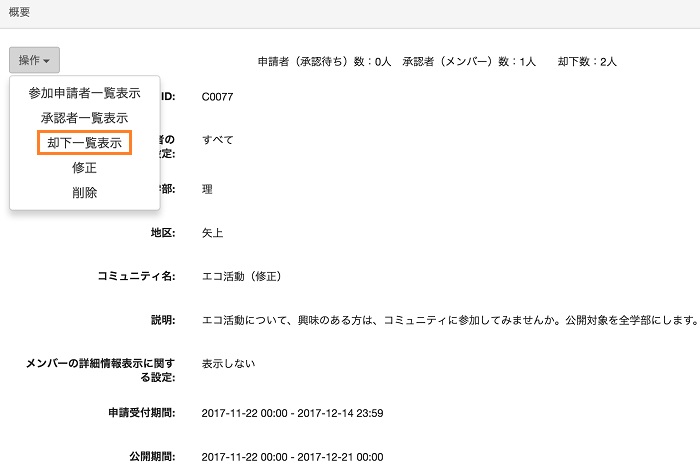
Click the Community.
The community screen opens. Then, click [Reject List] displayed in the [Operation] box. Rejected members are displayed.
To cancel a rejection, select the rejected member and click [Cancel Rejection].
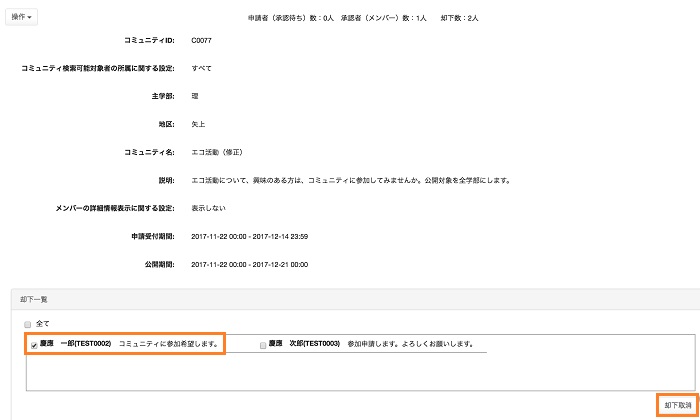
The rejection cancellation confirmation screen is displayed. Click [Yes].

You can check to make sure one rejected applicant has been deleted.
c. Various community functions
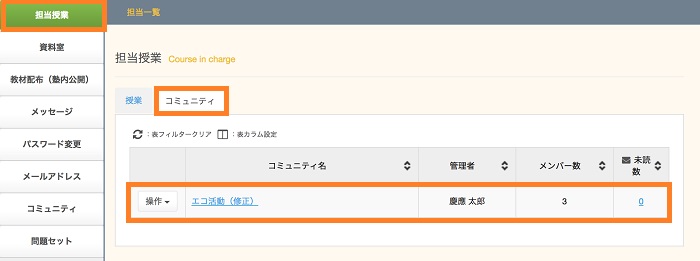
Click [Course in charge], and then, the [Community] tab to display communities you created.
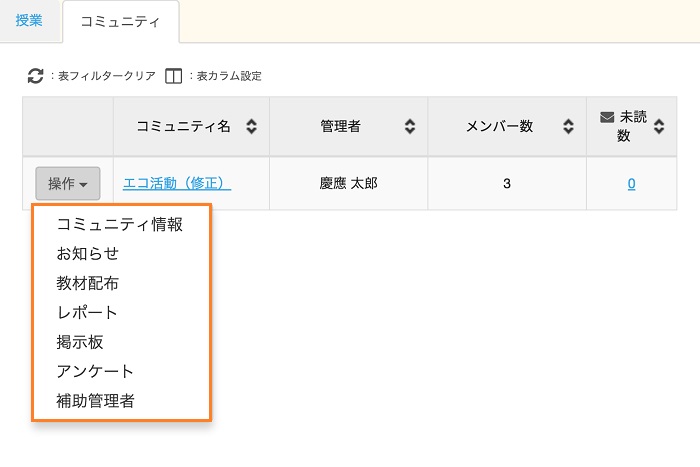
Click a given community name or select it from the [Operation] box to display functions provided for it.
● Function menu
- [Community]
- Members list
You can view and download the Community participants list.
* Managing personal information is the responsibility of faculty members in charge of classes, so please handle personal information very carefully.
Attendance Management List
You can register attendance for each Community and optional opportunities, and confirm and download the registered contents.
* Attendance records are not linked to data outside of class support.
・Class Info - [Notice]
- You can make text based postings in class support for Community participants.
・Notice - [Teaching material distribute]
- You can distribute electronic data that can be viewed or downloaded by only persons registered in the class or all class support users, depending on the setting.
You can confirm that persons registered for the class have viewed each of the registered study materials.
・Teaching material distribute - [Report]
- Reports allow you to make settings concerning the presentation or submission of homework contents, receive or resubmit of submitted reports, give notifications of comments, or register memos for each report that has been submitted.
・Report - [BBS]
- Based on settings, you can use the Class Message Boards to communicate only with the Community, provide information, or for communication between Community participants.
・BBS - [Questionnaire]
- The questionnaire allows you to give varied answers to questions that have been set.
Thus, you can use not only simple questionnaires, but also mini tests etc.
・Questionnaire[Mini test/Other] - [Assistant]
- Assistant settings allow you to give faculty members and students, authority to make settings concerning some functions related to the class.
・Assistant
Last-Modified: February 23, 2018
The content ends at this position.