

Common Settings
This section describes the Shared settings features.
For reference, the explanation provided here uses the editable group settings of the Reports feature as an example. However, remember that granting a person privileges to edit reports enables them to use all the features for reports. It is important to keep this in mind when you use this feature to register individuals. Likewise, the following features can only be accessed by the evaluator in charge of the class.
Class Info: Register Non-Degree Students
Class Message Board: Modify/Delete Class Bulletin Board set up by the evaluator in charge
Shared settings Features
a. Accessing Shared settings
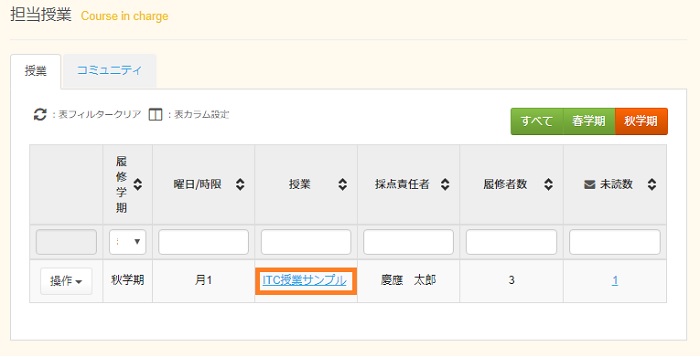
Log into the "Class Support". Click the class name.
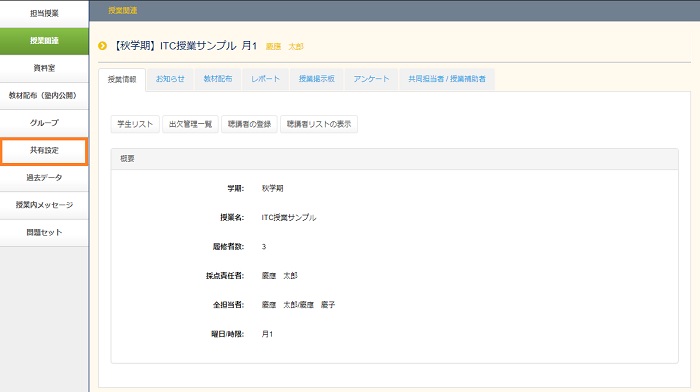
Information about the class is displayed. Click [Shared Settings] in the menu shown left.
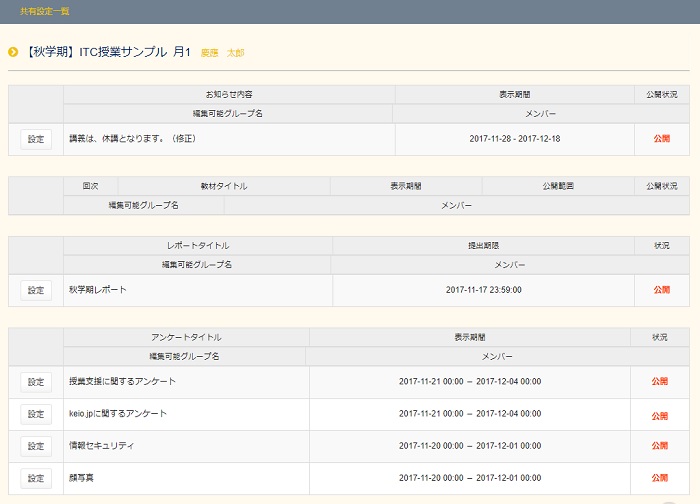
The list of Shared settings appears.
(If there are any features that have already been registered, the corresponding content is displayed. For features without registered content, only the display menu and the list title are displayed.)
b. Modifying Shared settings
Specifying a Group as Editable
Click [Set] on the left side of the feature whose settings you want to modify.

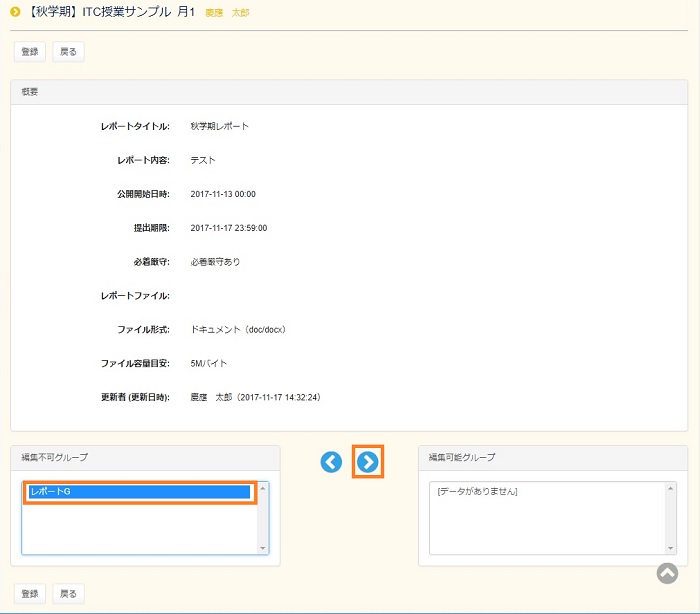
Click the name of a non-editable group to select it.
- The selected items are displayed with white characters against a blue background (see the figure below).
- To select multiple groups: Hold down the Ctrl key, and then click the names of groups you want to select.
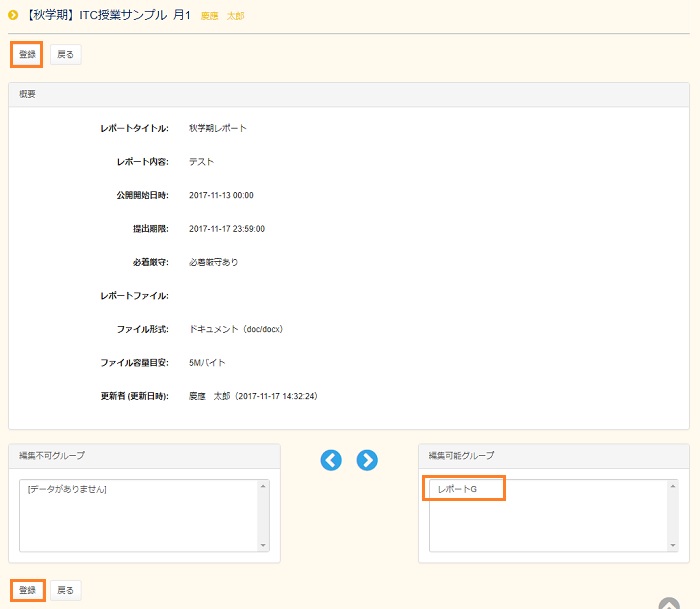
When you are finished selecting groups, click the [Move to Editable Groups] button.
Confirm that the selected group(s) has moved to the editable groups, and then click [Register].
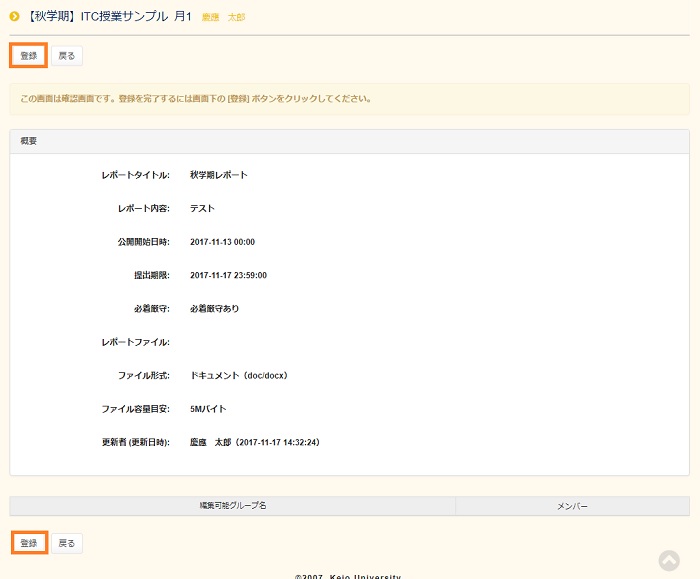
When the window to confirm registration appears, verify that the settings are correct, and then click [Register].
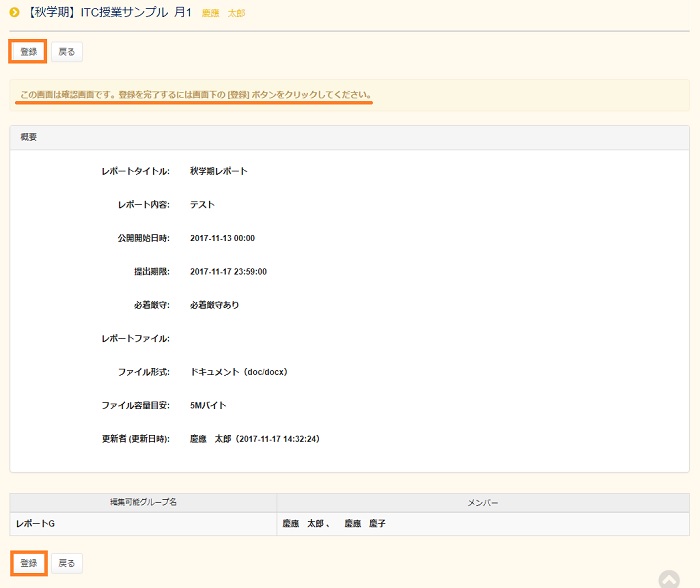
The list of Shared settings appears. Finally, confirm that the group name you registered is displayed in the [Editable Group Name] column of the registered feature.

Specifying a Group as Non-Editable
Click [Set] on the left side of the feature whose settings you want to modify.

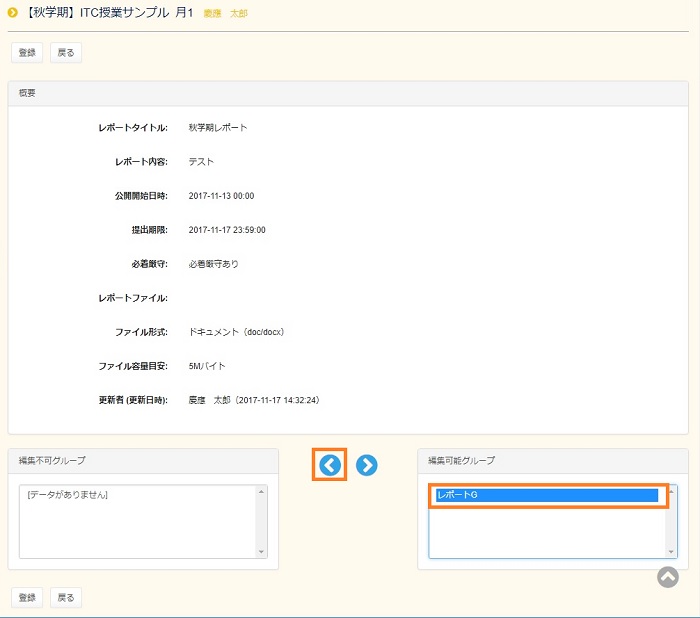
Click the name of an editable group to select it.
- The selected items are displayed with white characters against a blue background (see the figure below).
- To select multiple groups: Hold down the Ctrl key, and then click the names of groups you want to select.
When you are finished selecting groups, click [Move to Non-Editable Groups] button.
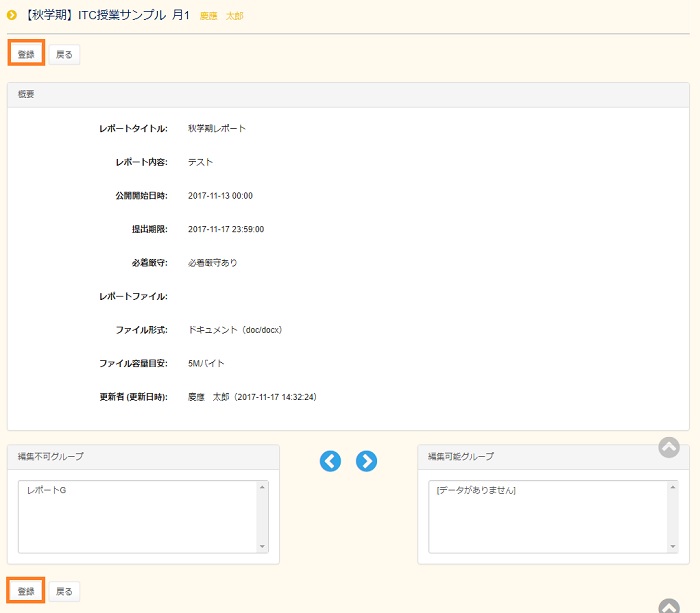
Confirm that the selected group(s) has moved to non-editable groups, and then click [Register].
When the window to confirm registration appears, verify that the settings are correct, and then click [Register].
The list of Shared settings appears. Finally, confirm that the group name you moved to Non-Editable Groups has been removed from the registered feature item.

Last-Modified: October 1, 2020
The content ends at this position.